Remote Camera Iris Adjustment
In a typical dance show filming setup, a camera will be set up to provide a “wide” overview of the stage for use during the edit. Sometimes this camera will be placed in a fairly inaccessible location so some form of remote control is essential to ensure that the image captured is usable throughout the show.
This becomes even more critical when you consider that coloured stage lighting and effects will often be used meaning your camera settings must be able to adapt throughout the show.
This is fine for most “In camera” settings which can be accessed by means of a remote control. The lens in use on this particular camera has one manual-only control… the iris. The simple solution would be leave the camera in a fully automatic mode but this results in the camera incorrectly compensating mid-shot ruining the usability of the footage.
In manual mode, the iris control is only available as a physical ring on the lens itself. The answer was clearly to motorise this control.
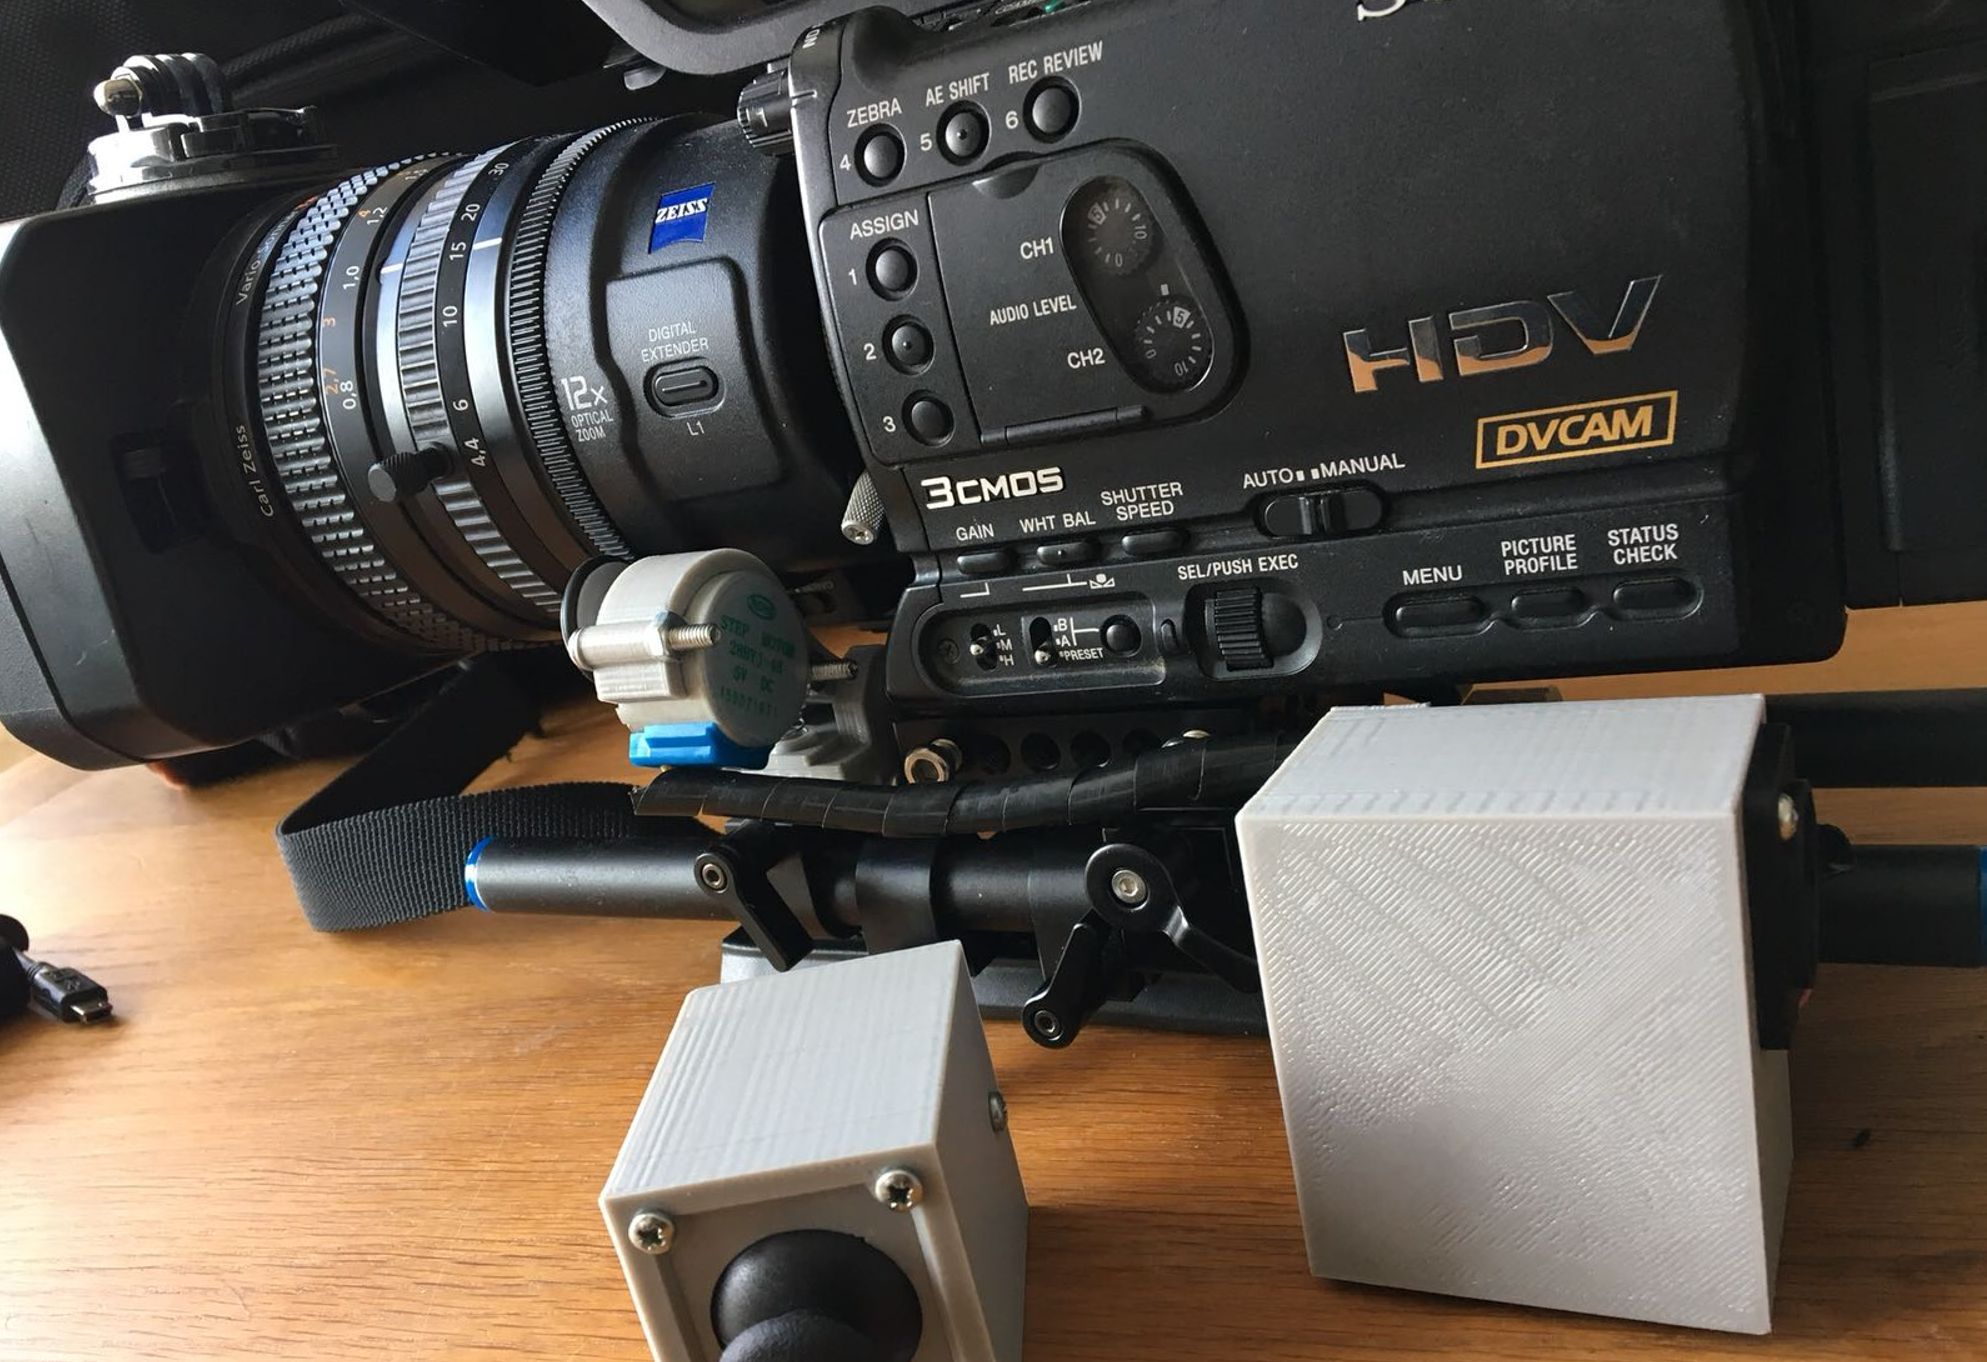
To provide drive to the control a small stepper motor with a friction wheel was attached. As the camera already had a rail system it was quite easy to get some custom brackets in position with a spring tensioner.
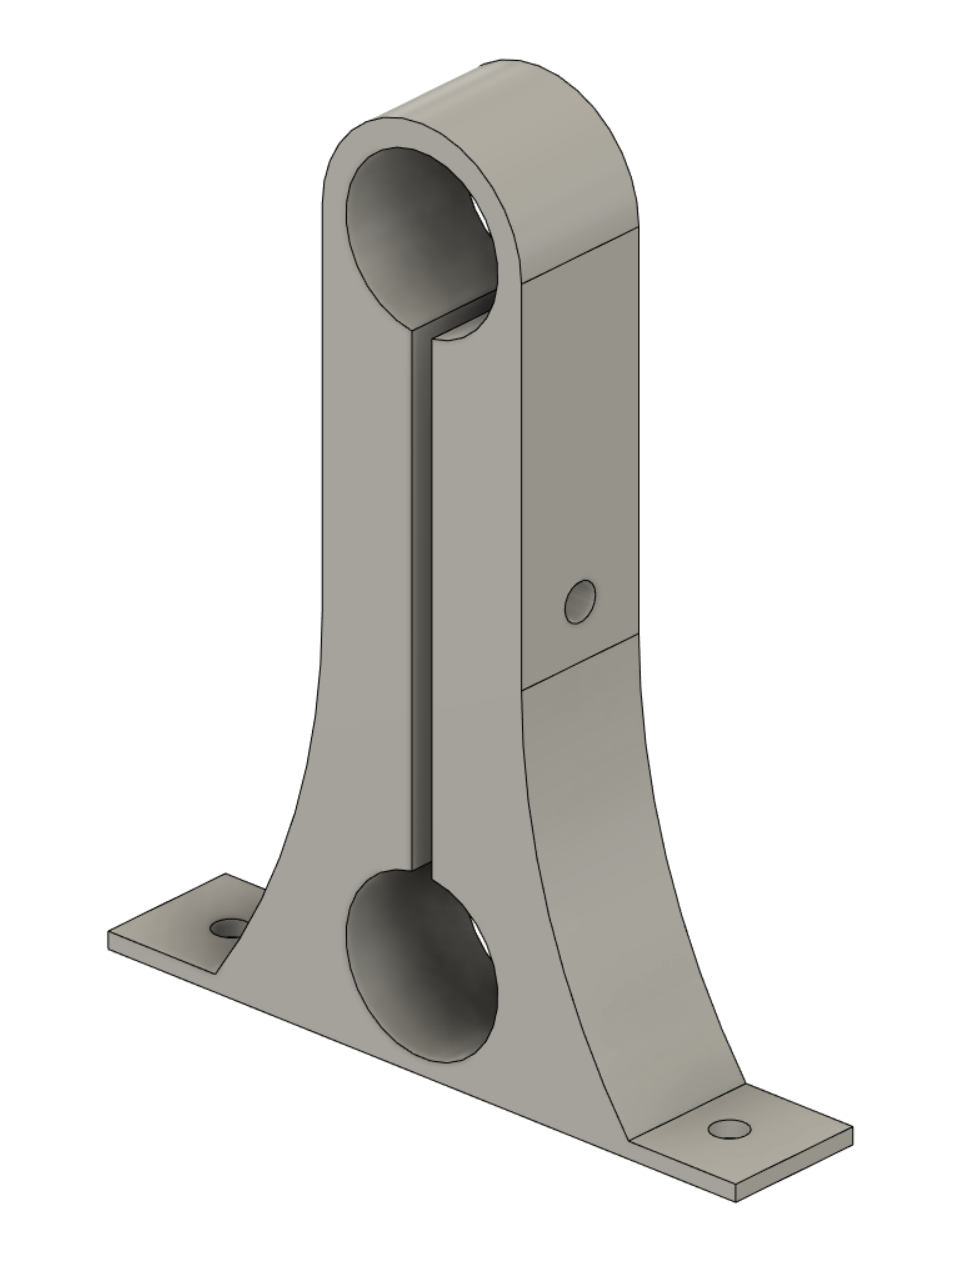
 3D Print - Rail Bracket
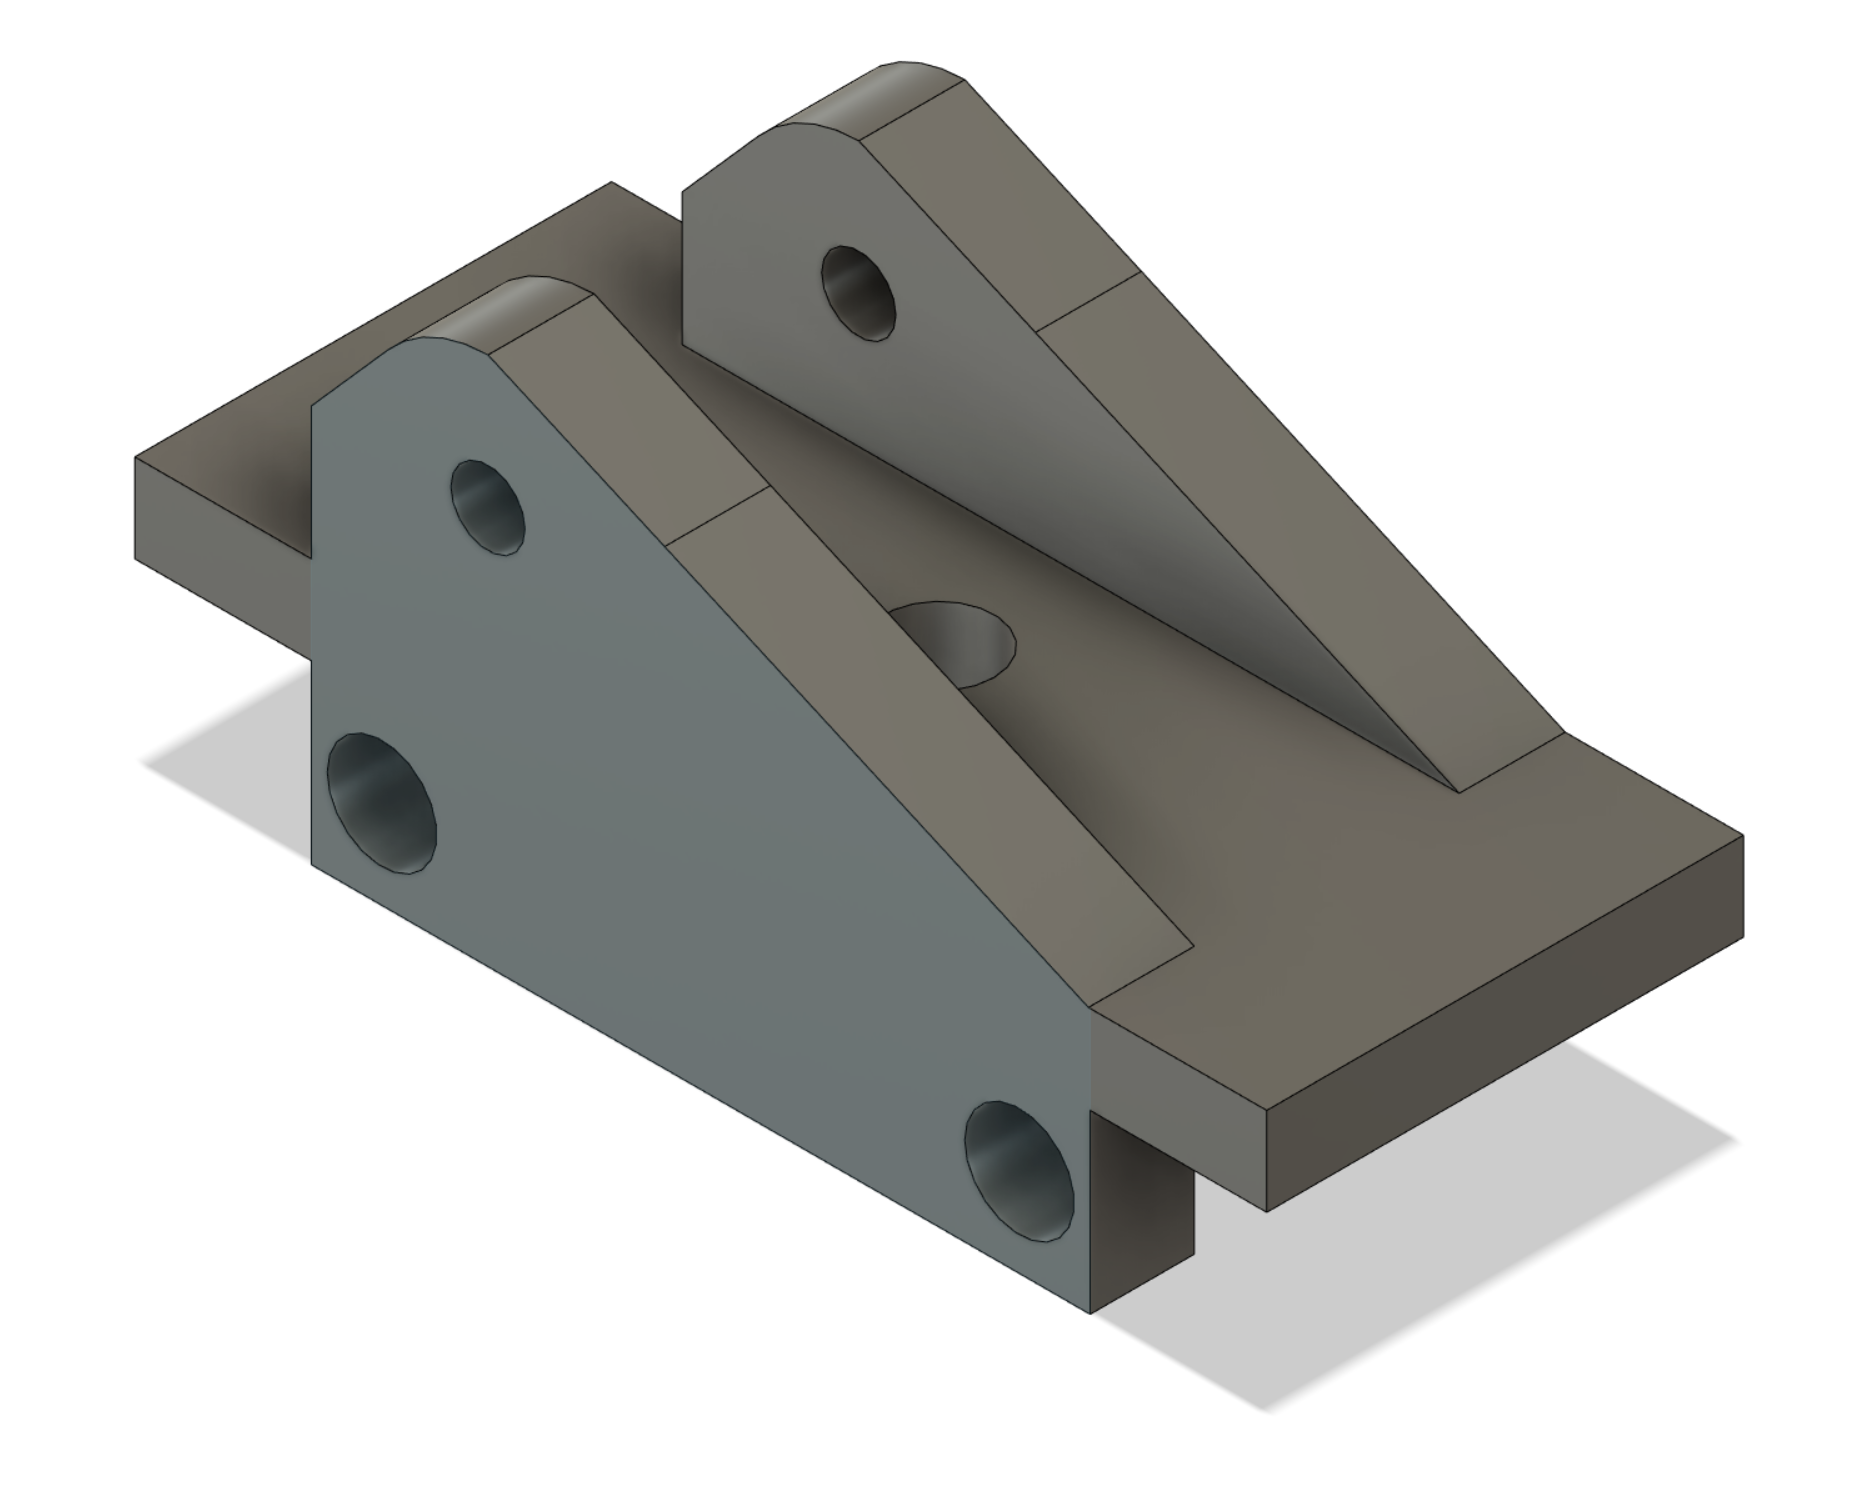
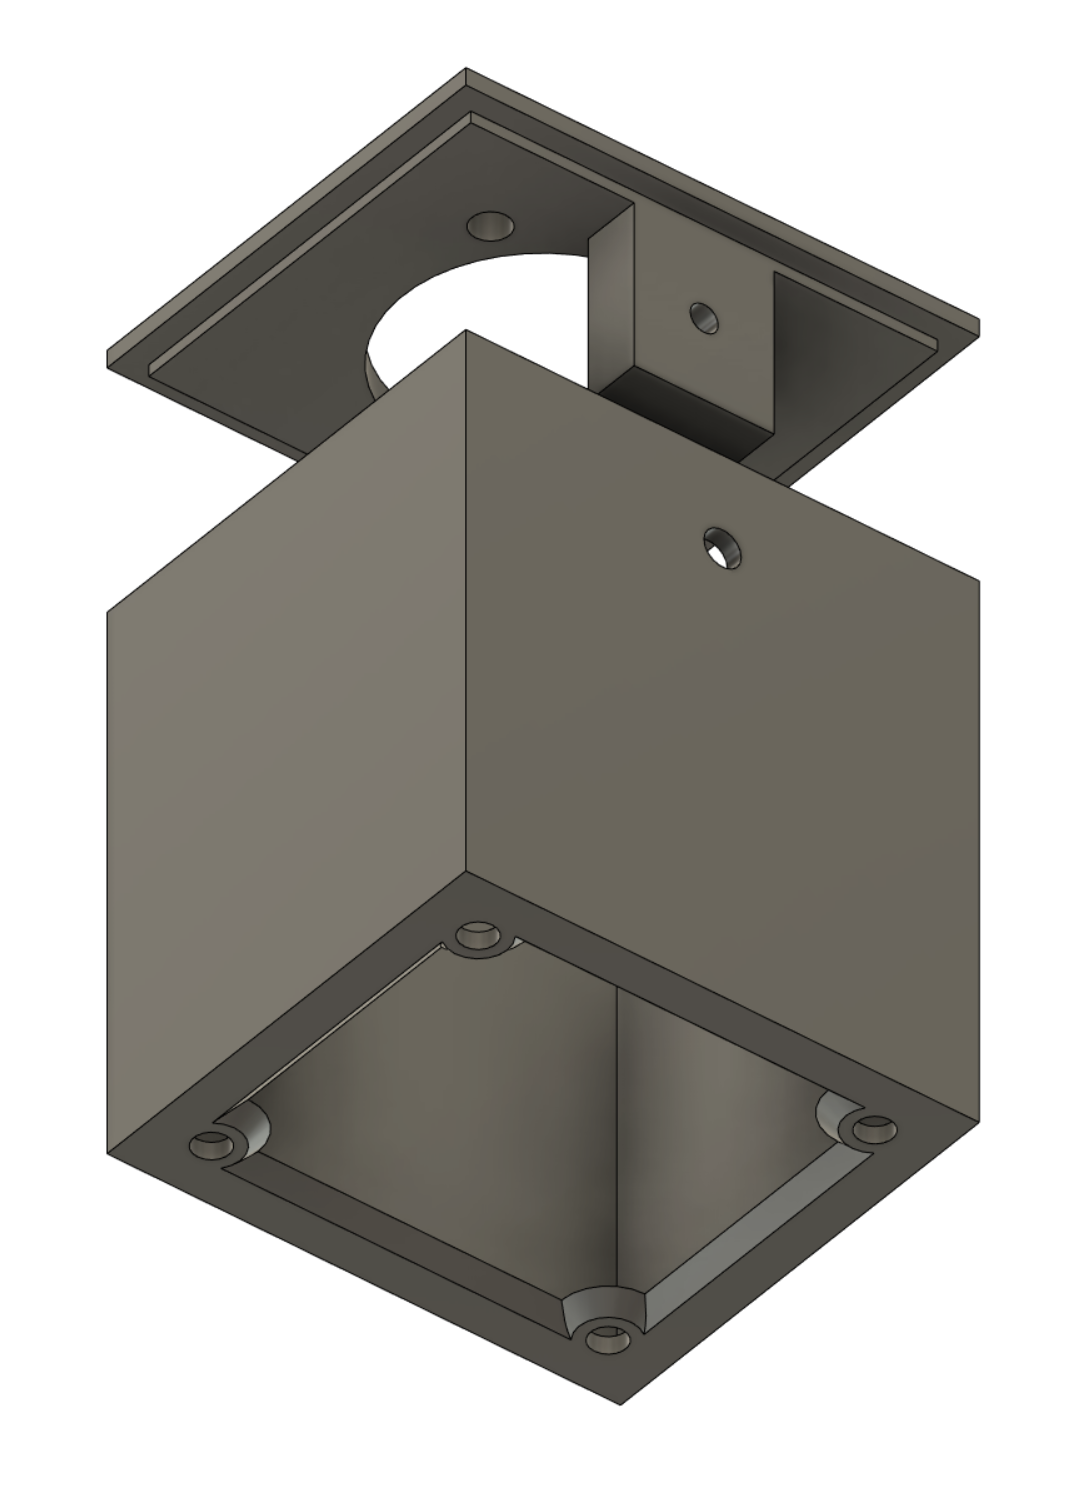
 3D Print - Stepper Motor Armature
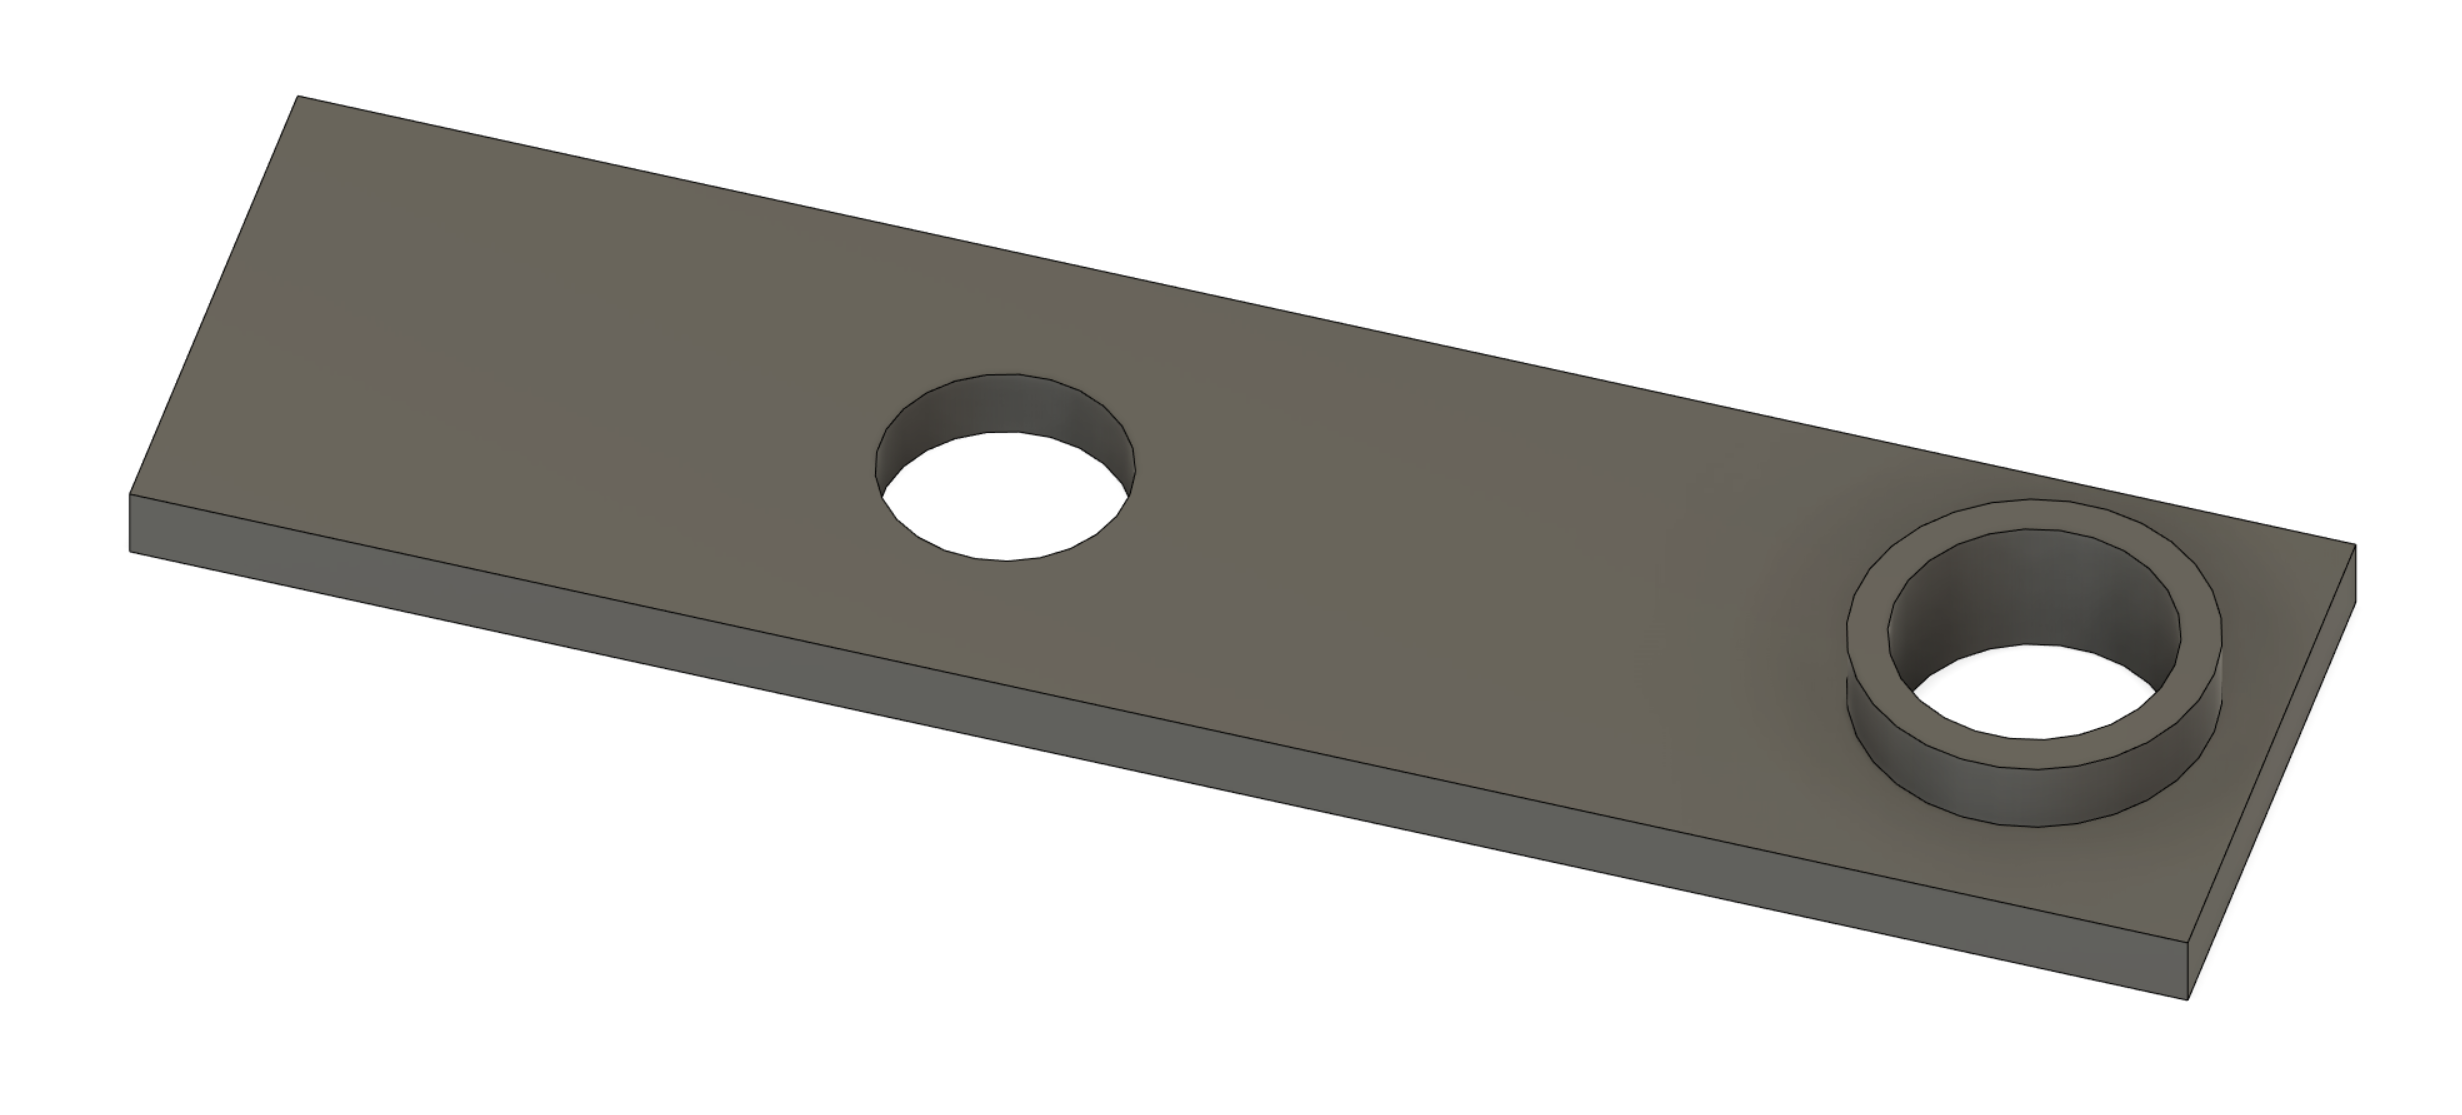 3D Print - Spring Guide
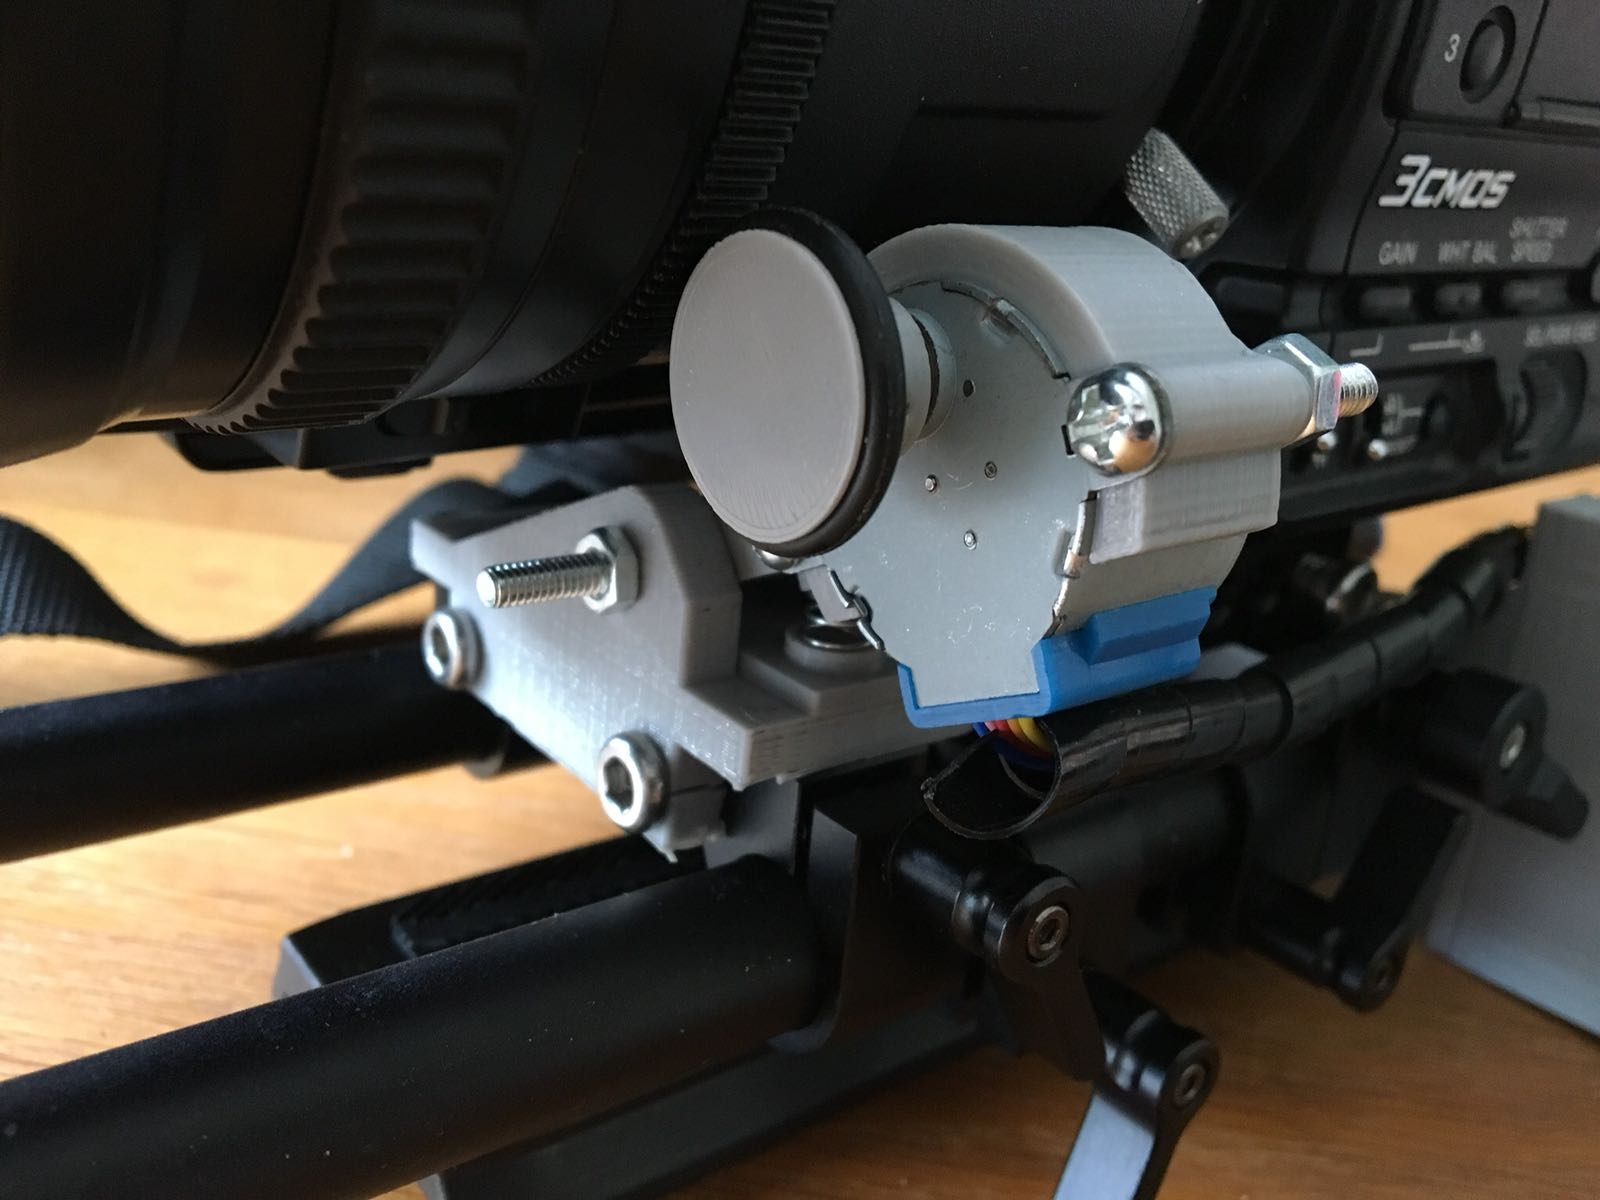 Closeup of the stepper motor with tensioner and bracket
This stepper motor is controlled by an arduino and control is from a simple 2-axis thumbstick module found all over ebay. For connecting the controller to the rest of the design I decided to use standard 3-pin XLR Microphone cabling as this would be readily available and extendable.
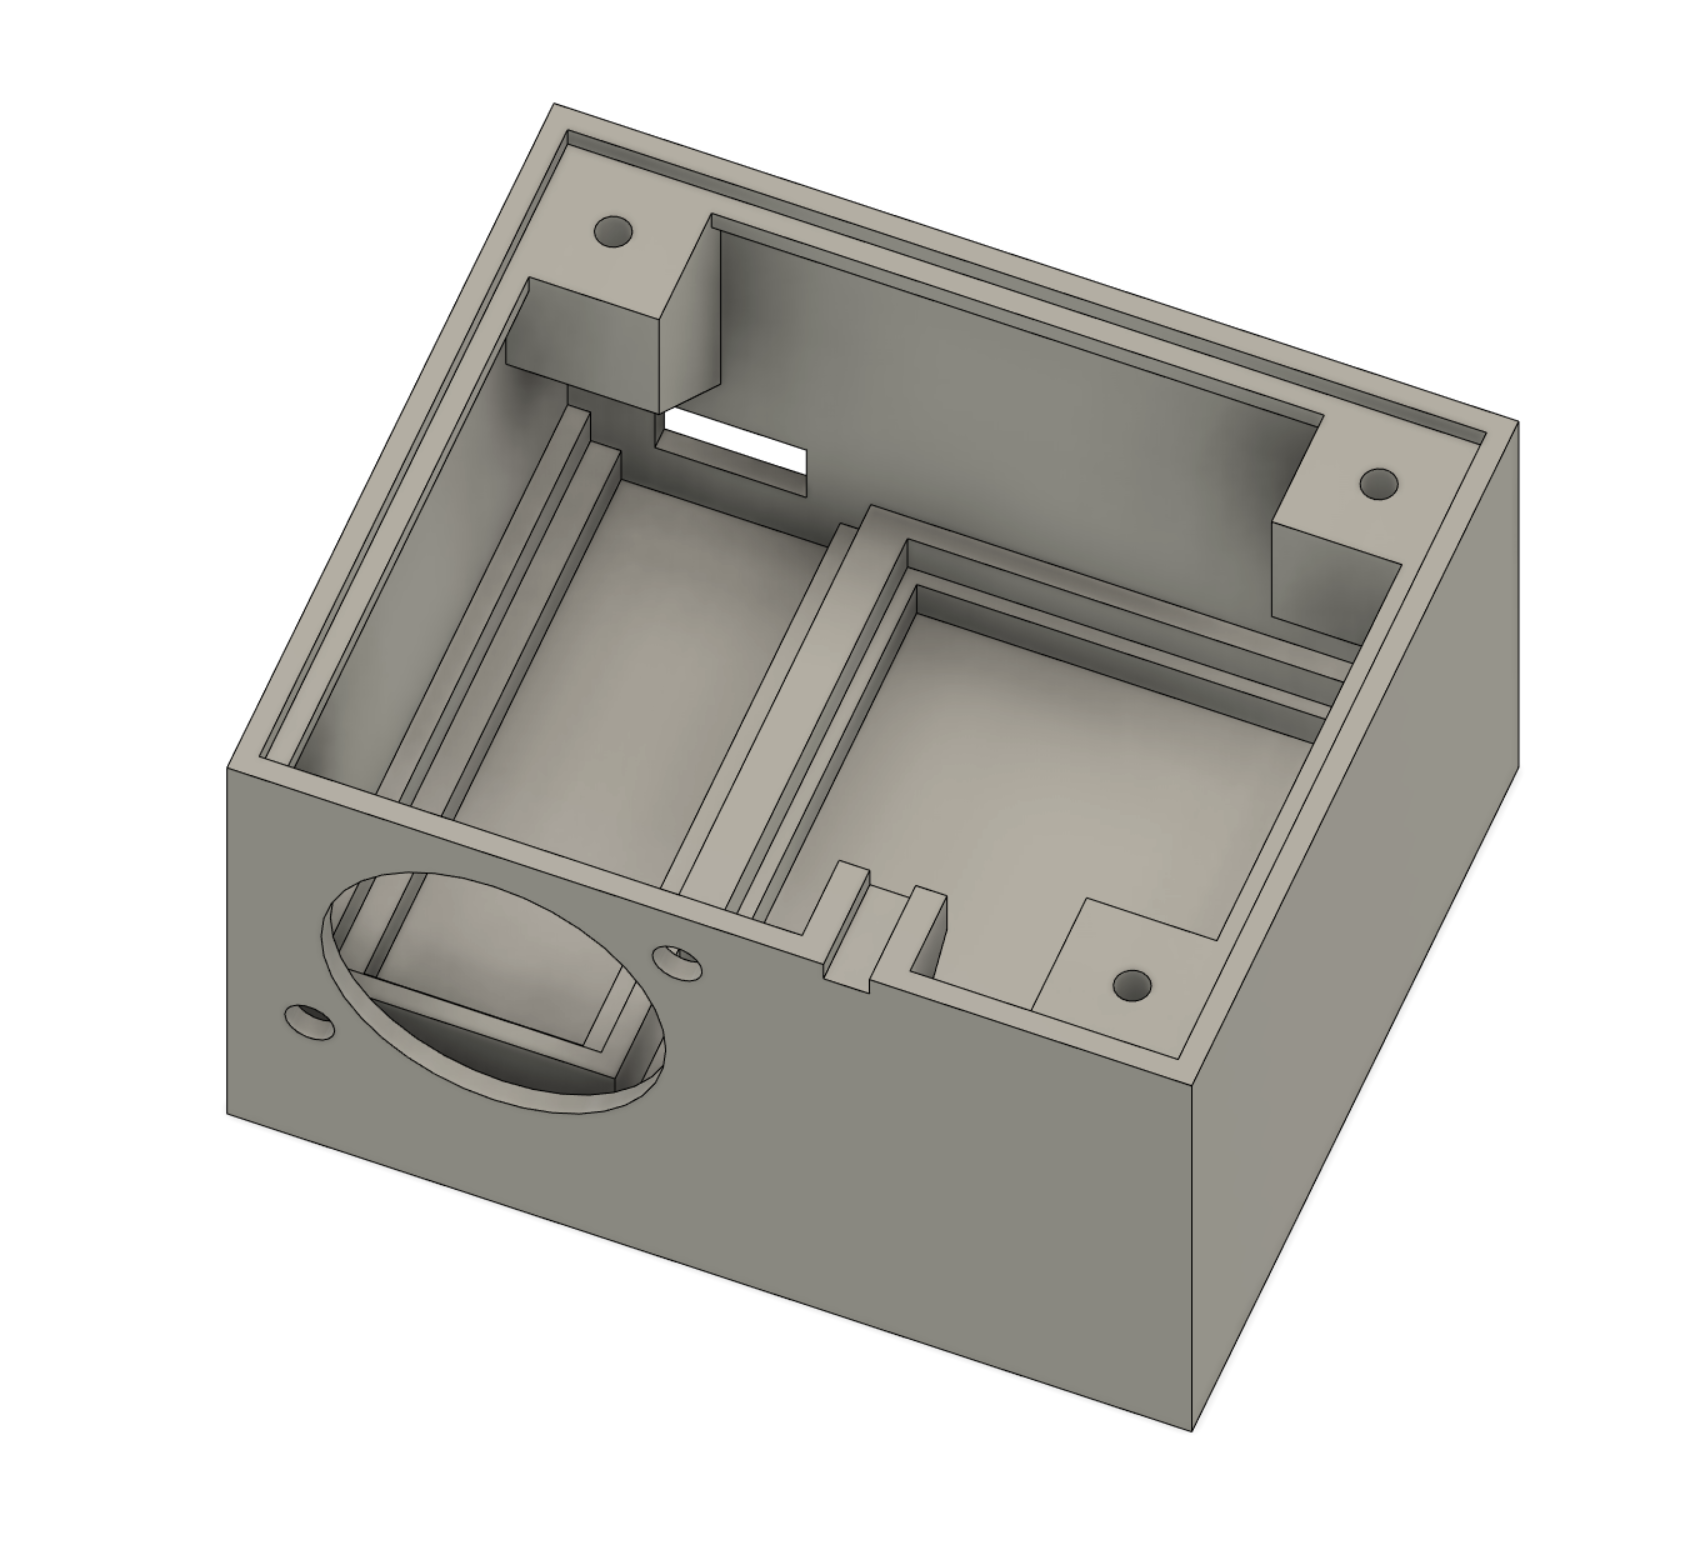 3D Print - Control Box
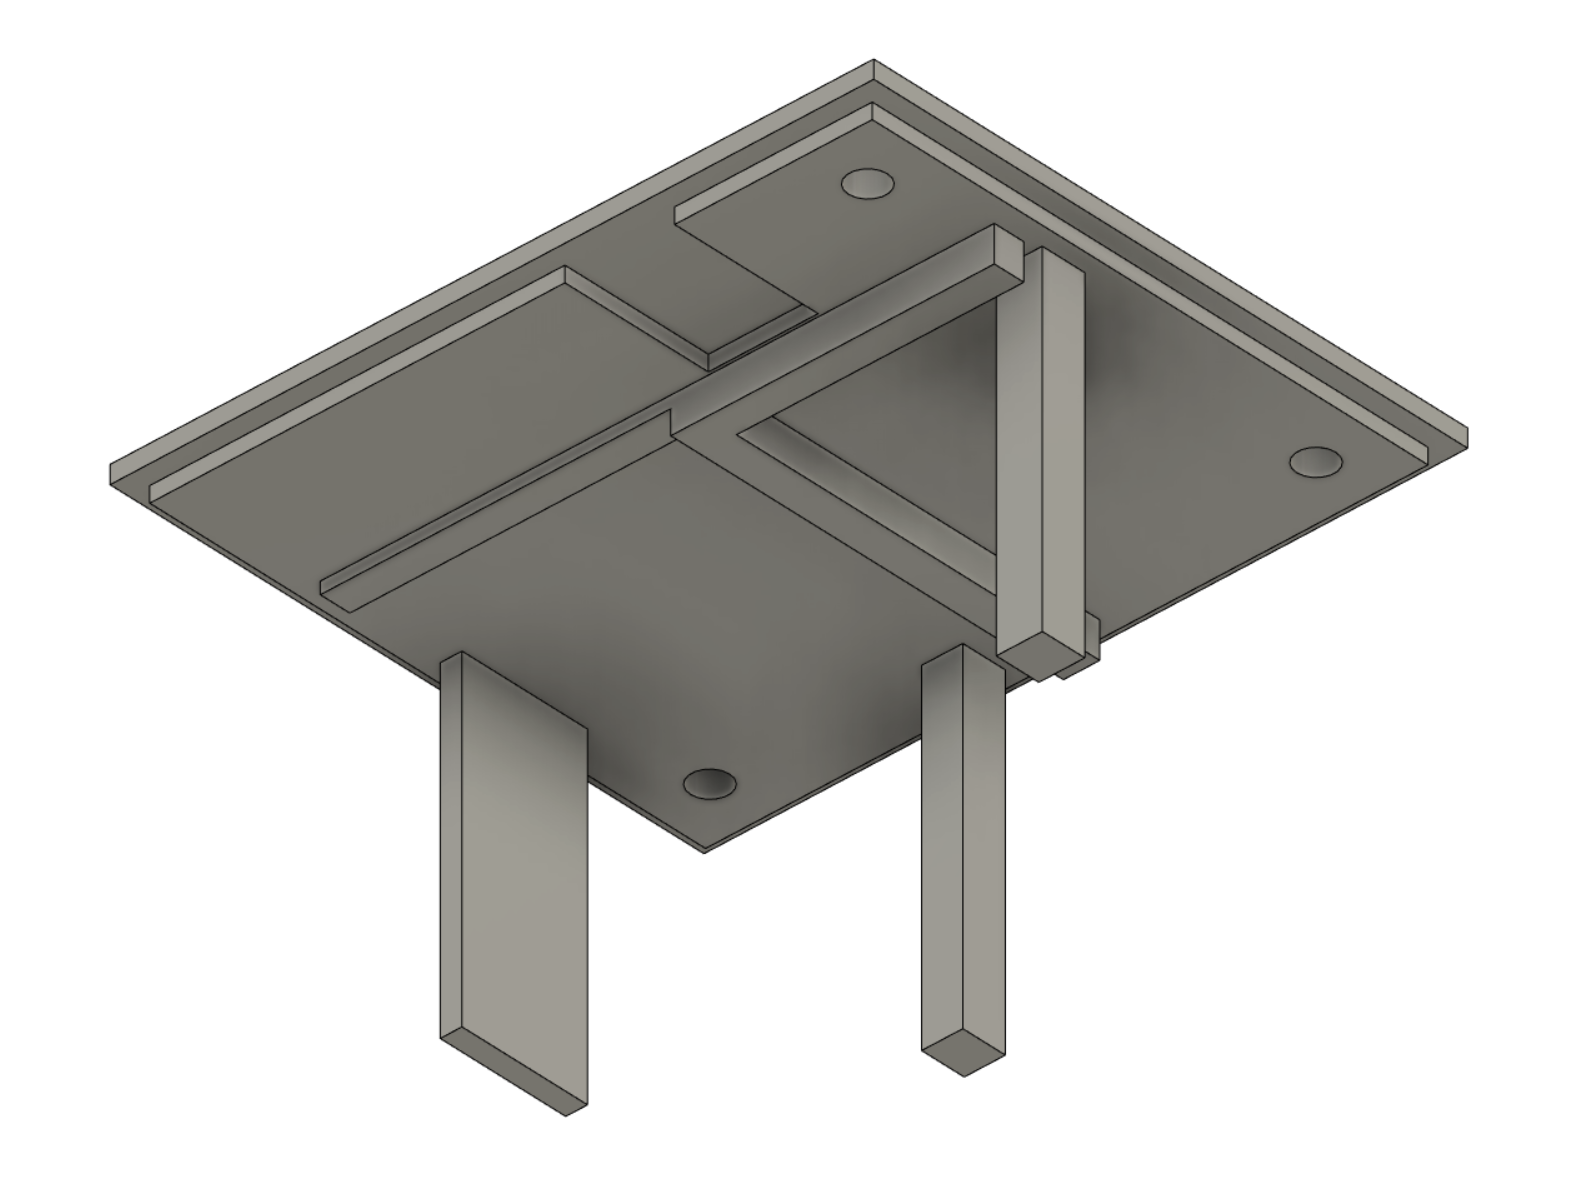 3D Print - Control Box Lid
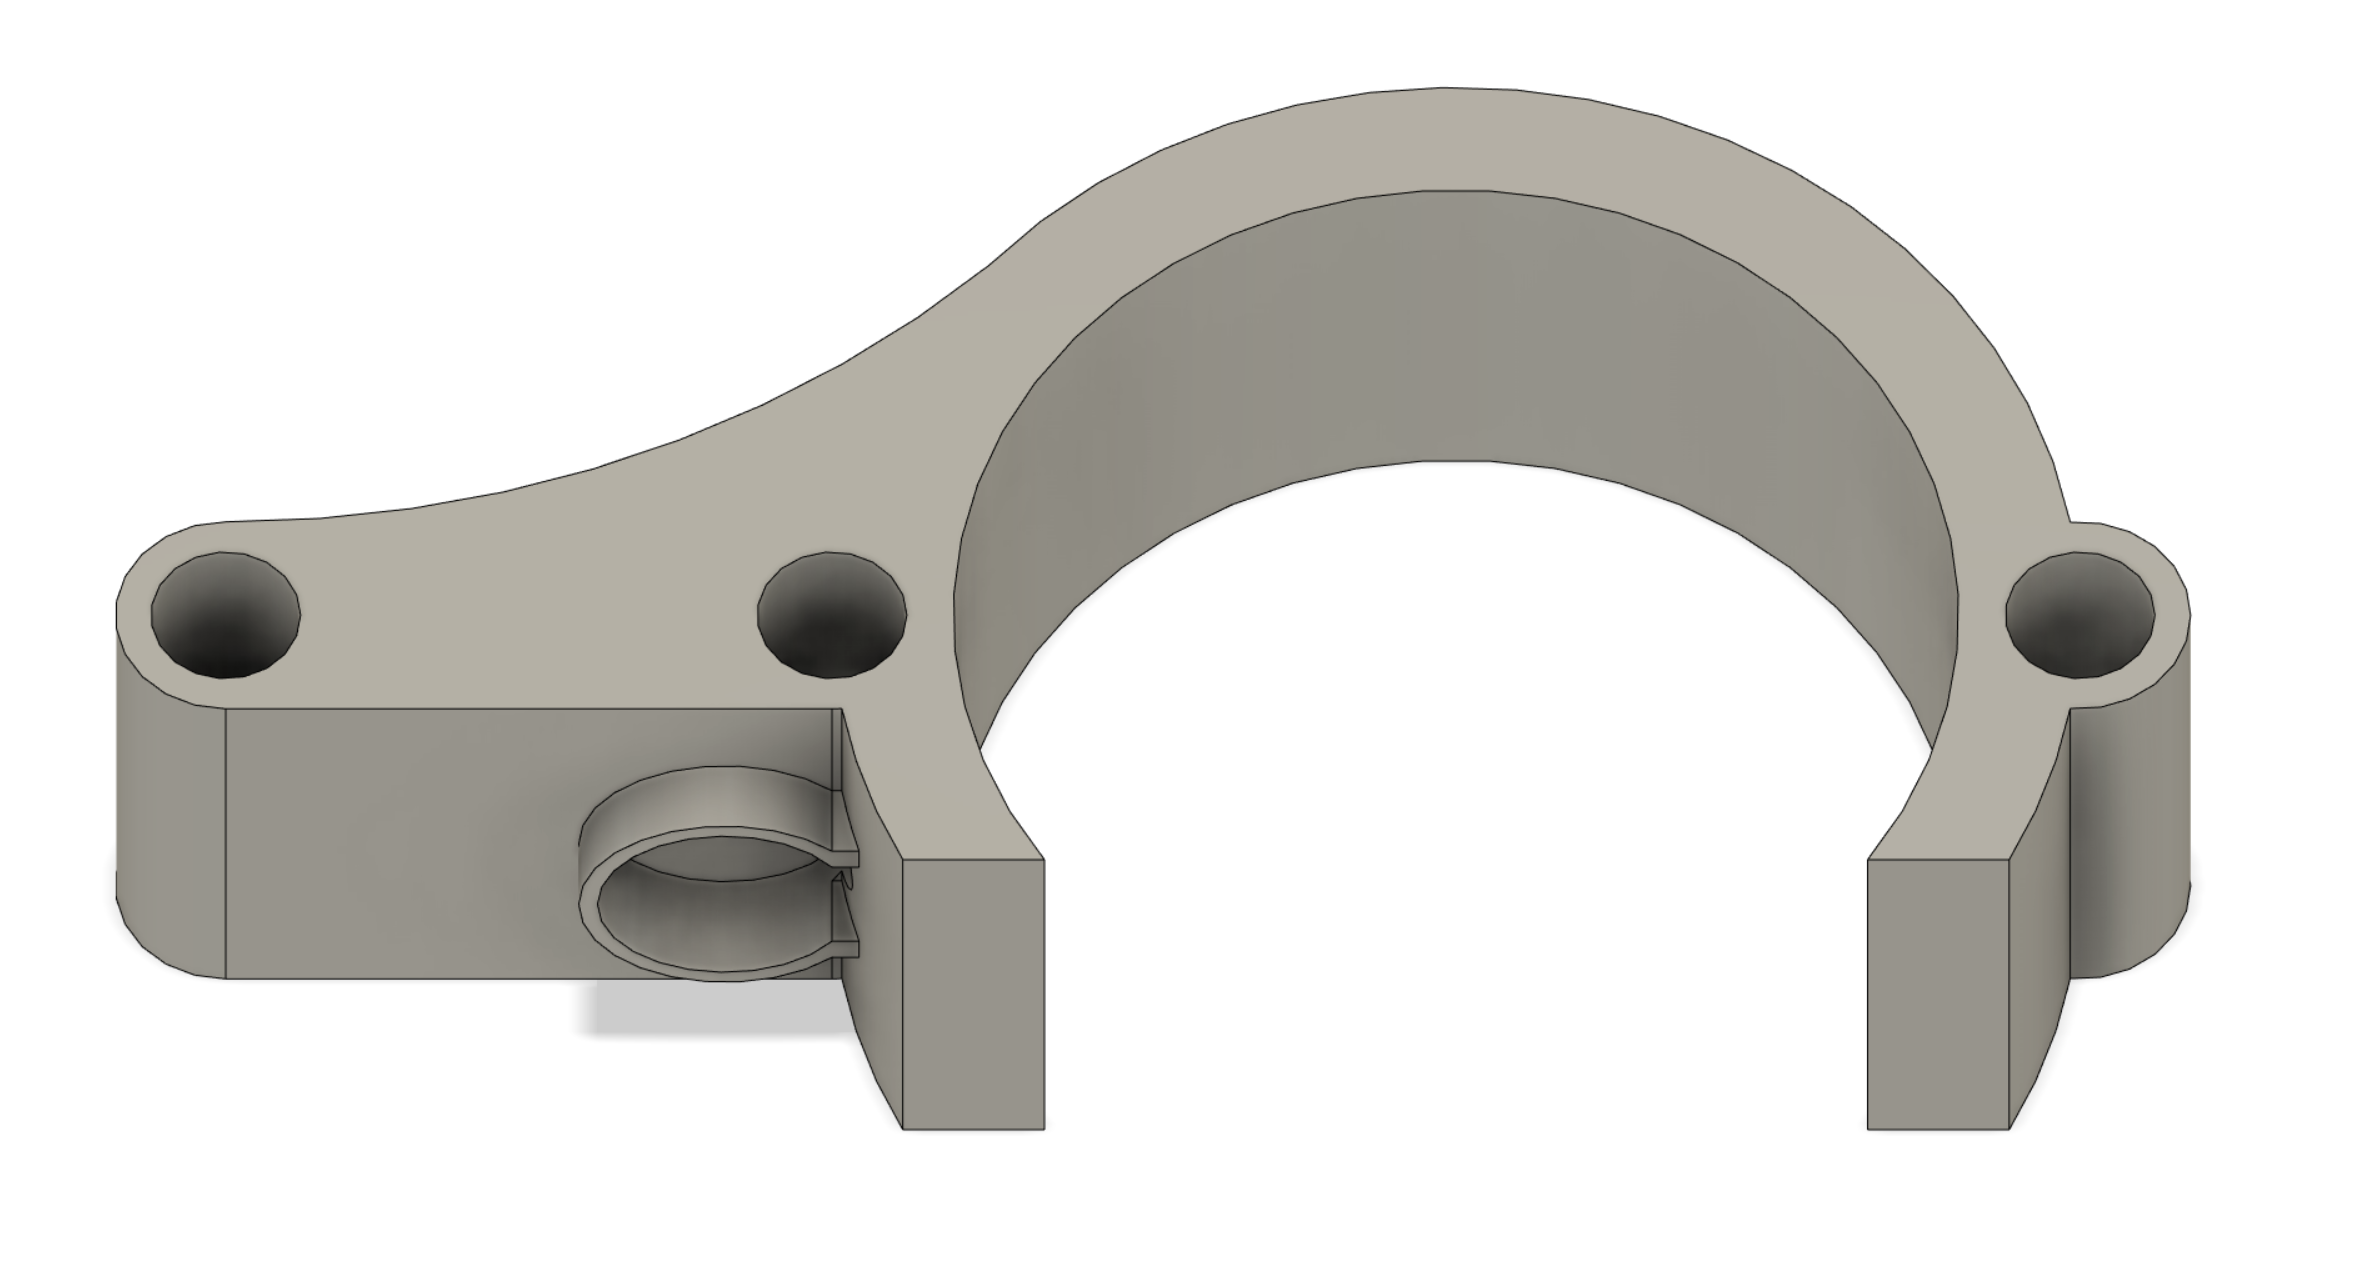
 3D Print - Control Box Rail Mount
 Closeup of the control box mounted to the rail
The controller is very simple, it just uses one axis of the 2-axis thumbstick to send a control voltage down the XLR cable. A small deadzone and acceleration was added in software to allow small and precise changes.
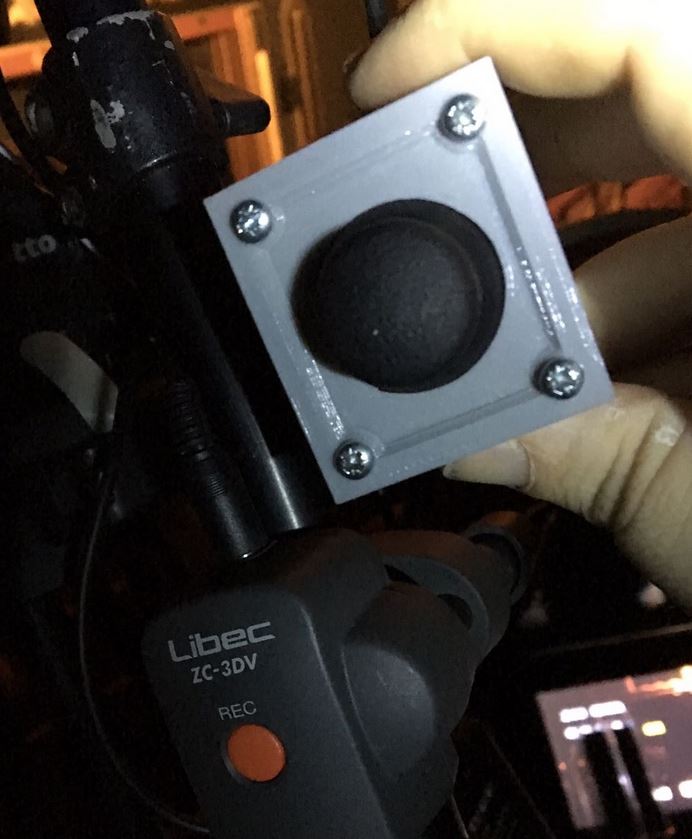
 3D Print - Thumbstick controller Box
 Closeup of the thumbstick
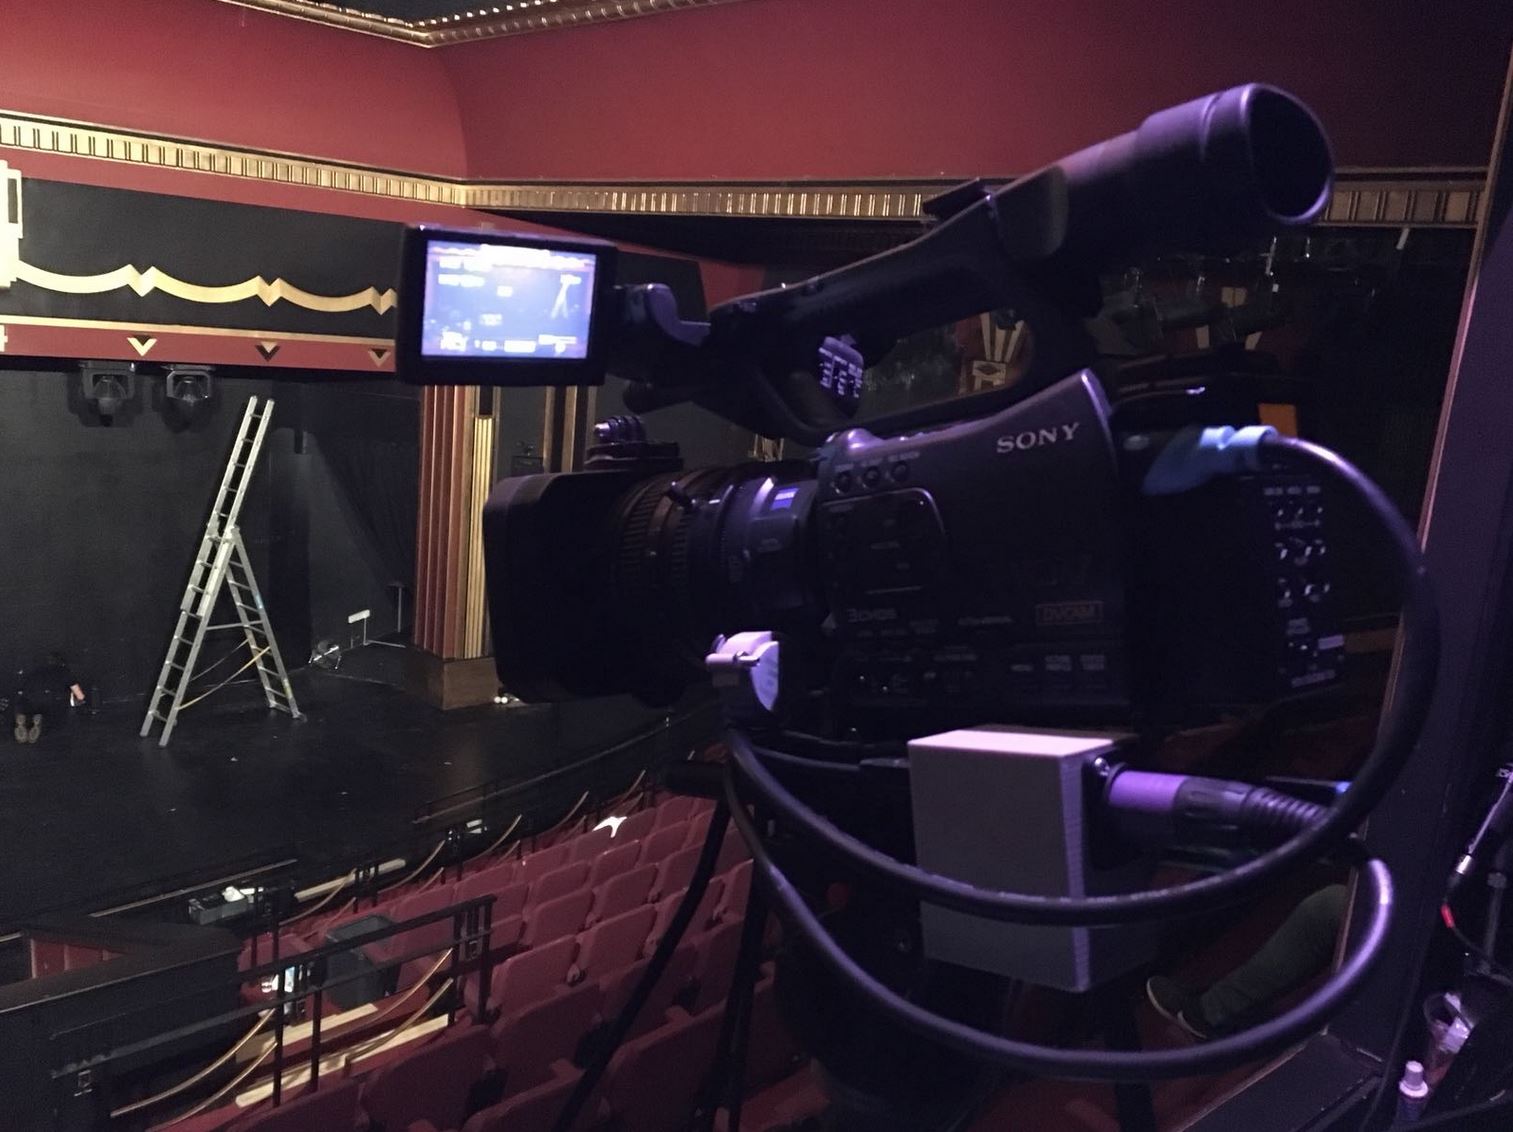 Full build attached to the camera